
I recently stumbled upon an issue with my ASUS Router (I’m using the RT-AC87U). New and existing devices refused to connect, either via wireless or lan. A restart would fix the issue for a short period of time, but after that, the problem occurred again. So I decided to investigate and checked the logs:
dnsmasq-dhcp[271]: failed to write /var/lib/misc/dnsmasq.leases: No space left on device (retry in 60s)
dnsmasq[271]: failed to allocate 124 bytes
dnsmasq-dhcp is the DNS Server that comes with the default firmware. It reports that there seems to be a memory issue, as there is no space left to write the leases. Let’s check how much space there’s left on the router then:
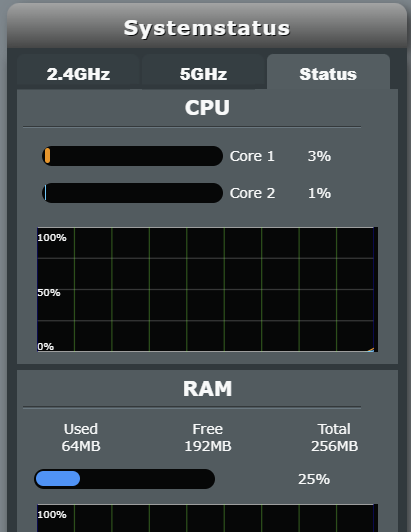
Looks fine to me. I went on and checked several logs, but I was unable to stumble upon a cause for the problem.
The Cause
This is because the problem originates in something else: As reported on several topics in the ASUS Community and in this news by ASUS, there was an error in the configuration of ASUS server settings file, which lead to a memory leak.
ASUS suggests:
- Manually reboot your router
- If rebooting does not resolve the issue, please save the settings file, perform a hard reset (factory default), and then re-upload the settings file (follow the directions in the https://www.asus.com/support/FAQ/1050464)
- If you cannot access the user interface to save settings or perform a reset, you can press the RESET button for about 5-10 seconds until the power LED indicator on the router starts to blink, which means the reset is completed. https://www.asus.com/support/FAQ/1000925/#m2
Solution
I rebooted the router several times, but in my case that didn’t solve the issue. I then followed ASUS FAQ Guide to backup my config. Here is how you do it:
- Go to your routers web interface (usually by typing “router.asus.com” in your browser).
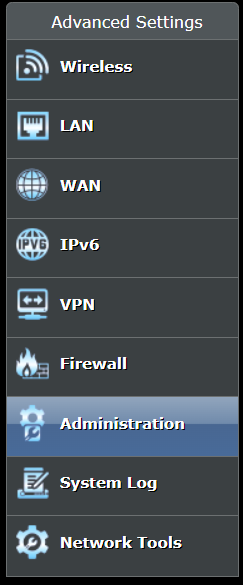
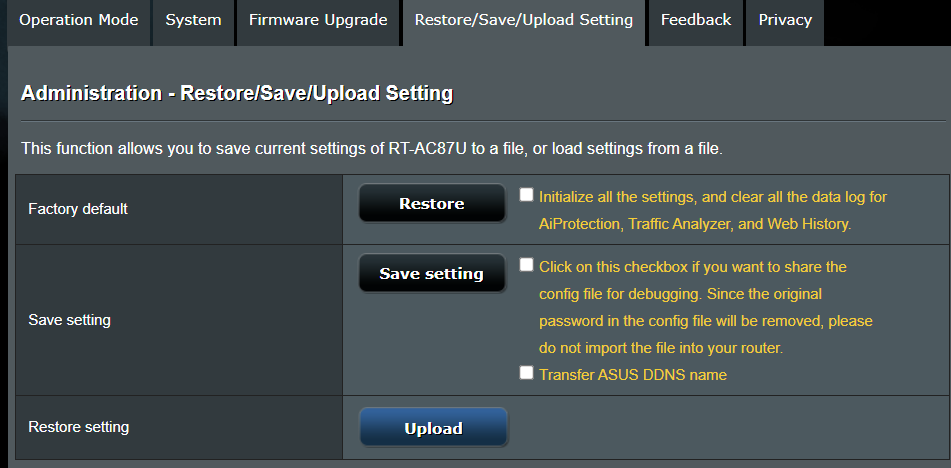
- Go to: Administration > Restore/Save/Upload Setting
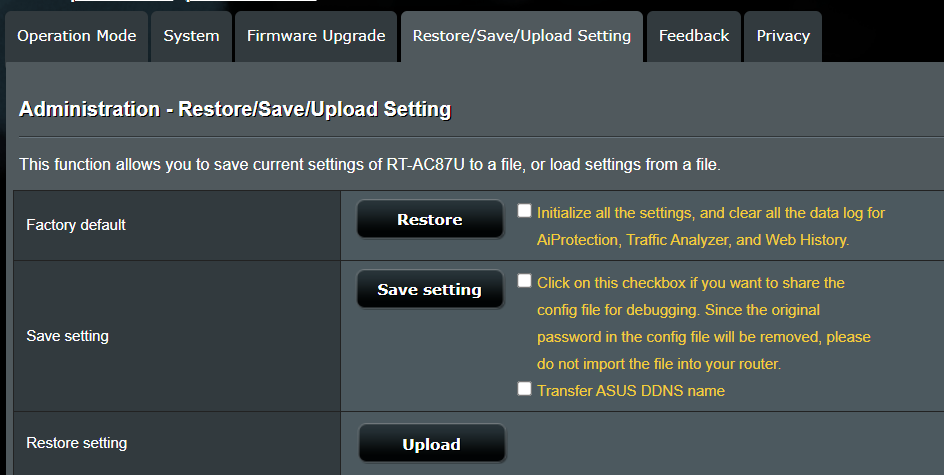
3. Click “Save setting” to download the current router config file.
4. You will the be asked to download a .CFG file. Save it to a place you remember. Some browser may call the file malicious, you can ignore that (it originates from your own router, so you can trust it).
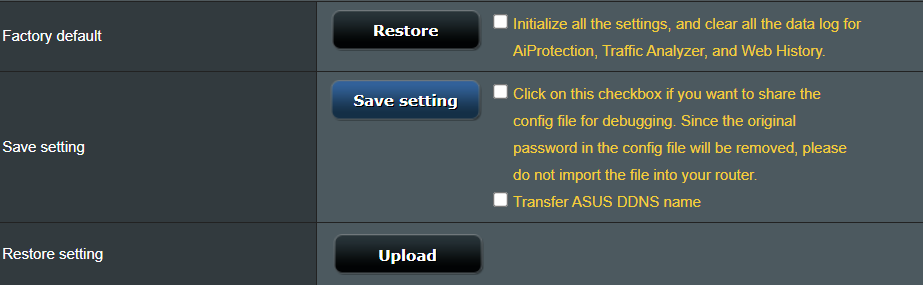
5. Click on “Restore” in the Factory default column to reset your router to factory default settings.
After that, your router will take some time to reset. When finished, you should be greeted with the wizard to setup your router. You can skip this, or, like in my case, fill it out because I was unable to skip it. Now you will see the main page of your router.
Go to Administration > Restore/Save/Upload Setting again. But this time we click “Upload” under Restore setting and choose our previously downloaded .CFG file.
The ASUS router will apply your old settings, and that’s it. The issue should be solved, no more trouble with connecting your devices to the internet.